Foraging: Nettles + ADHD-Brain
Get a cup of something good and get comfy! I’m in story mode!
And the story is full of information, so hang on in there!
I’ve been foraging again! Nettles again! This time, ostensibly, for the seeds, again. Little did I know that this time I’d reap a 3-in-1 harvest.
A Family Reunion Detour
Starting at the beginning, my family has been getting together for a family reunion on my mother’s side. So, from Toronto, my sister came over with her two daughters and the husband of one of the daughters. Of course, all of us
Pilgrims (me, my sister and brother along with partners, children, their partners and grandchildren) wanted to meet up before the even bigger reunion.
On this particular day, we were going to visit my daughter for a morning tea party, but for some reason, four of us had to get there a whole hour earlier. To keep ourselves out of my daughter’s hair (she had an appointment at home), we went for a walk into a nearby forest. It was me, my foster son, Mahmoud, my sister and her daughter.
As the housing area phased into the forest, along the pathway we saw a lot of nettles, heavy with seeds. We had come empty handed so just noted the spot and I promised myself to come back asap.
Back for the Seeds
That day came yesterday. Mahmoud picked me up and after parking at my daughter’s place, we headed for the woods again. The nettles were there, though fewer. Someone must have mowed along the edges of the pathway, so we felt a little disappointed at first. But that was a wasted emotion!
First Mahmoud held a bag open for me while I cut the nettles, one by one with my garden scissors (and gloves of course!). After a while, I showed Mahmoud how I do this work on my own, he dropped the bag job and went into collecting mode with a vengeance.
This is what I do: preferably I have a sheet of some kind to put on the ground. I didn’t have one with me this time, but it works fine anyway. I cut the lady nettles (the gents don’t bear seed) just under the lowest bunch of seeds and put them on the ground in a pile. When the pile is big enough I put them in a bag. Now there were two of us doing
this… the result was an impressive four bags of nettles.
From Garden to Living Room
One thing worth knowing if you ever try this yourself: fresh nettle seed doesn’t wait around. Once it’s off the plant and sitting damp in a bag, it can start going mouldy fairly quickly, so it needs to be stripped and spread out to dry sooner rather than later. I also don’t have the indoor space to lay out four bags’ worth of nettles to dry all at once,
which is exactly why working fast, and outdoors, wasn’t really optional for me at this scale.
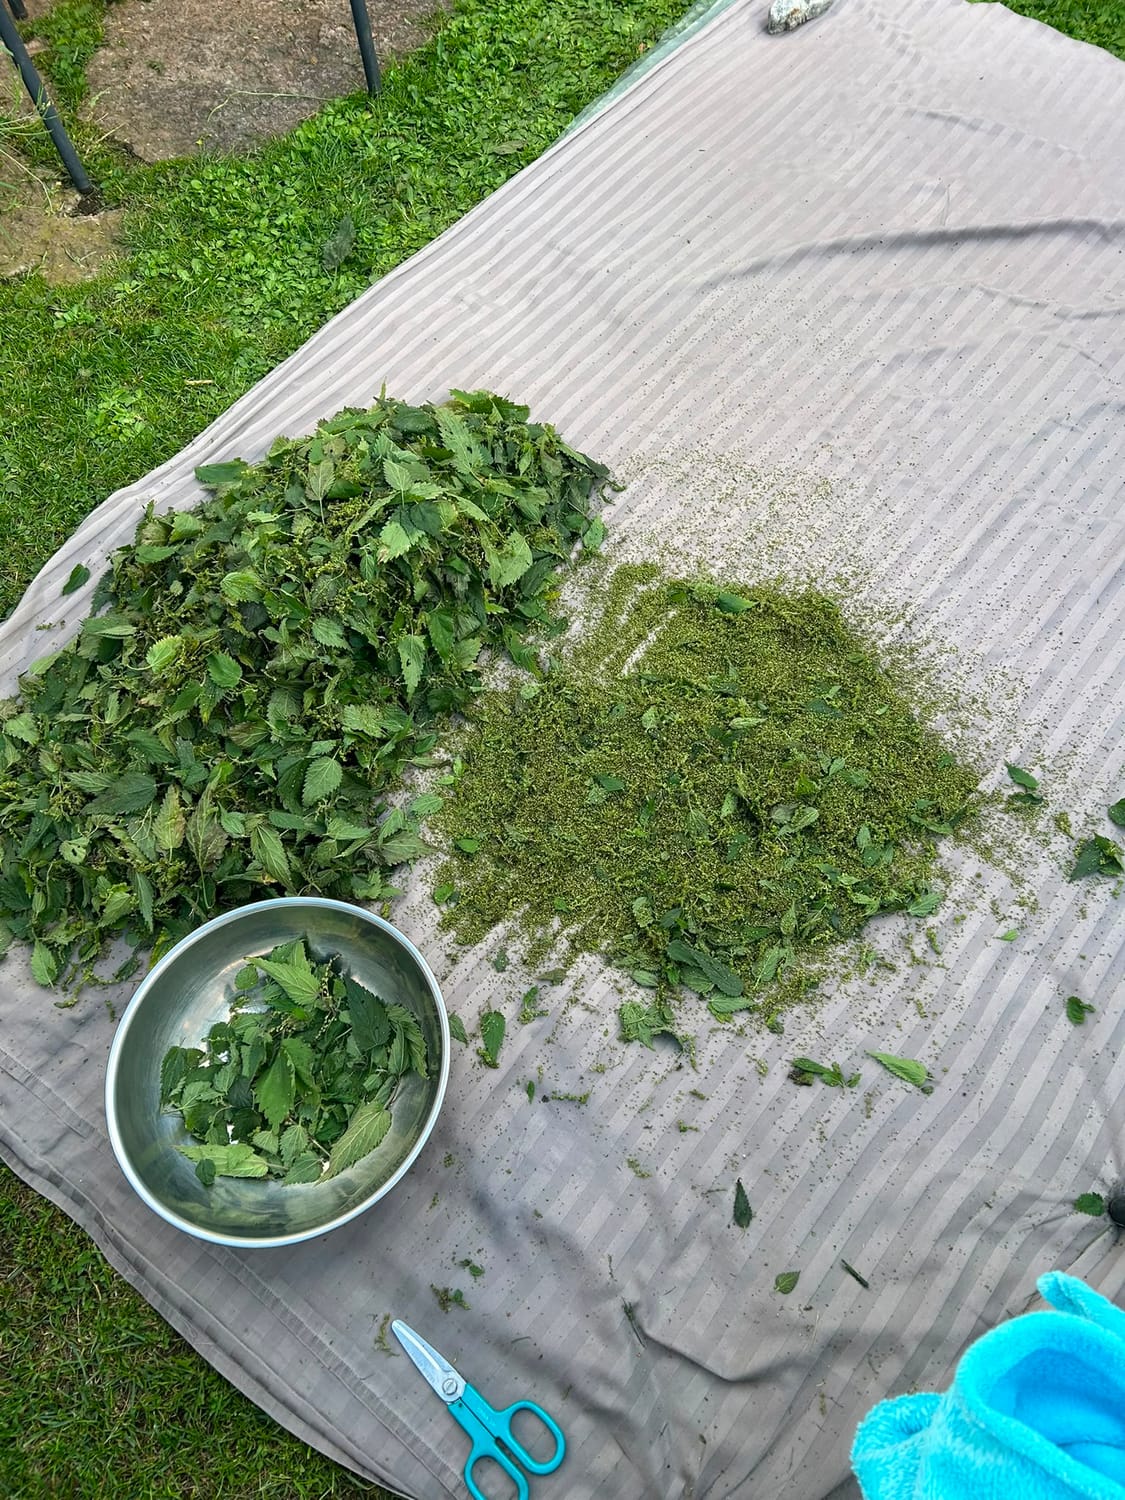
At home, I got out a sheet of thick plastic that I usually use to cover tables during painting courses, or grandchildren’s visits, and spread it on our miniscule lawn. Then I got a cotton duvet sheet and it was exactly the same size as the plastic! Fun! Once the sheet was on the plastic, the nettles would now be protected from the damp soil (we’ve suddenly had a little rain after long drought – in Sweden!)
After dumping all the nettles onto the sheet, I spent about 1-2 hours stripping the leaves and seeds from the stems.
Of course, just after having thrown out the stems, I got a tip about using them when making broth, and of course they can be put in water for the garden. Then there’s a dream I have of actually making use of the fiber in the stems which offer thin, strong thread. That’s a project for next year, I think.
I think it’s important to do this work outdoors if possible. I was incredibly lucky to have pretty good weather. A spot of rain came and because of my set up, that was no problem, I just rolled the nettles up, with the plastic and sheet and brought the whole package indoors until the rain stopped. The reason for working outdoors is that there is a
whole host of other living beings that think that nettles are the best place to be and either they run off into the grass and flower beds themselves, or I help them to remove themselves. With gloves on, it’s not a big deal. There are snails, all sizes, ants, earwigs, spiders, big and small, some with eggs that they do their best to protect, so I put them and their eggs into the flowerbed and hope for the best. There are also larvae and grubs, all wanting to be saved from their ruined homes. Personally, I’d rather not bring them indoors, nor do I enjoy killing them.
Anyway, now it was time to bring out the big stainless steel bowls from my storage room, along with a strainer for rice and/or vegetables which was placed over one of the bowls and my big Jamie Oliver turner. Just placing the nettles on the sheet and then stripping the stems and then moving them around a bit creates piles of seeds on the sheet. Using the turner, I scoop up the piles and put them into the strainer. Of course you get leaves there as well.
With my gloved hand, I swirl the leaves and seeds around in the strainer, separating the seeds from the leaves, then I move the pile of leaves to a new pile. Now it’s time for the first rub. With gloved hands (garden gloves with leather, not plastic or disposable gloves), I pick up a bunch of leaves and seeds and gently rub them. The seeds pour down
onto the sheet. And a new pile of rubbed nettles is formed. The seeds are again scooped up and placed in the strainer along with whichever leaves are still attached.
I also had a bowl to save leaves for tea. The leaves that looked nice were chucked there, the ugly ones went in the general area of the garbage pile.
Yesterday, at this point, it was getting late and I needed to bring everything inside, but most of the animals had been left in the garden. I put all the first rub pile into my biggest bowl and moved the operation to the sitting room and continued working while we watched TV (a mix of Diamond League Championships and Swedish Idol!). Luckily
my ironing board was out, so I could use that as my working surface.
I continued on to the second rub. This time, I put a bunch of leaves and seeds into the strainer and rubbed them there. When they seemed more or less done, I put them in another bowl, to wait for the third rub. This is a rather tedious job. I’m pretty sure it’s my ADHD-brain that allows me to do this without getting bored. Instead, I can’t keep away. My husband had to call me away from it so I got to bed finally, still with lots left to do.
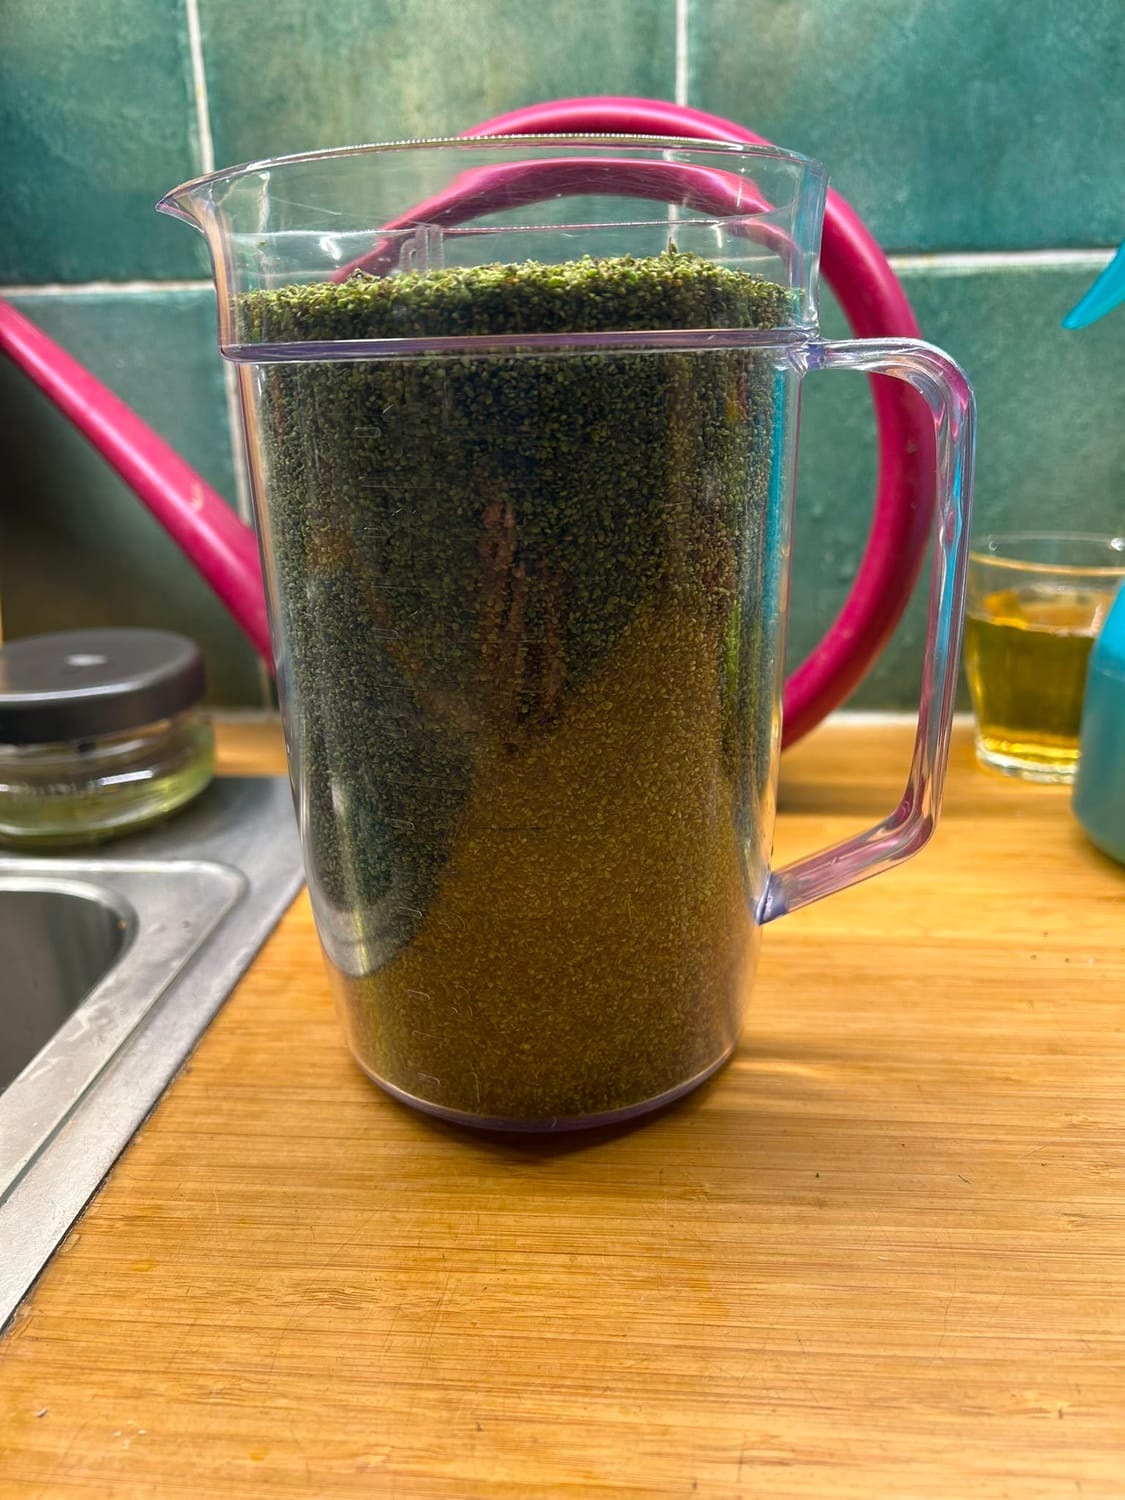
Before going to bed, even though I knew there were still seeds left to be collected from that third rub, I decided to see how much seed there was. I got my measuring jug, which shows up to 1.5L and was delighted! The jug was filled all the way up to 1.6L! That is double my usual harvest! With more to come!
The Next Day’s Bonus Harvest
A note here, this measurement is with fresh, therefore damp seeds. So I put them to dry, spreading them out on sandwich paper on a large plastic lid for a storage box (the kind you get at IKEA). The layer was rather thick, so they still haven’t dried completely today.
Later today, I took the whole operation back into my sunny garden (19 degrees C in the shade on 6 September, in Sweden… that’s climate change for you right there! When my eldest was born exactly 45 years ago, it was 11 degrees C and we thought it was very warm for that time of year!)
Now, when I dumped the leaves on the sheet, they only needed a little sun to start drying. That means that once I strained those seeds they were already dry and the result was just over another 0.5L of seeds.
Actually, everything, except my thick layer of seeds from yesterday, was drying fast, so fast that when I touched a leaf it would crumble. And as evening approached, I had an idea. I’d already filled a paper bag with a fair amount of leaves for tea. What if… hm! What if I were to just drop ALL of the rest of the leaves and seeds into my Vitamix?
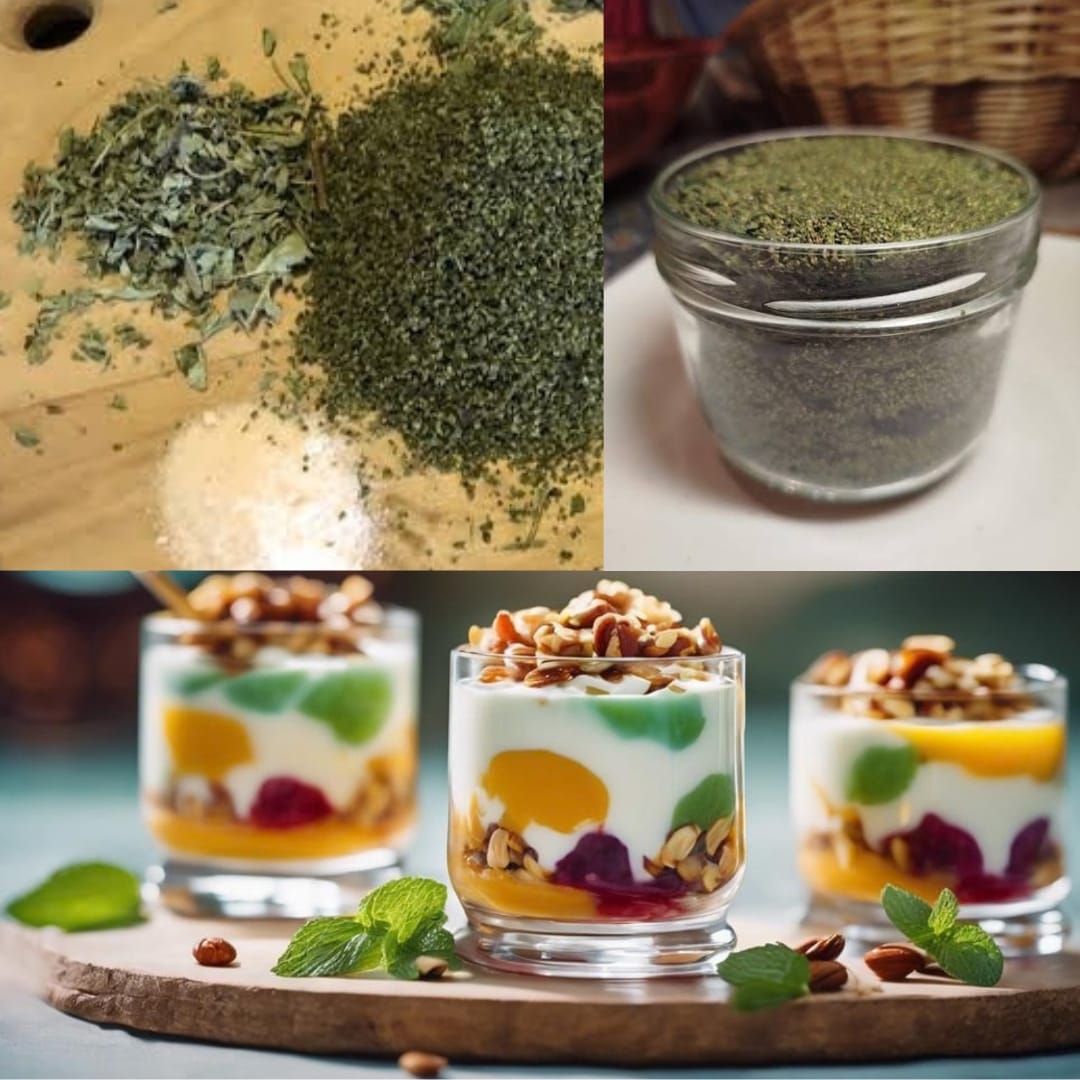
What if I were to powder it all? Said and done (as we say in Swedish). It took 5 times in the machine, and gave me 186 gr of my own nettle powder which I can now use when I bake or make gomasio or whatever. My waste from the harvest was reduced to almost nothing!
So there you have it: three products from one harvest: leaves for tea, seeds for gomasio and other fun things and powder for baking, smoothies, gomasio and the like! And no garbage, except, regrettably, those stems.
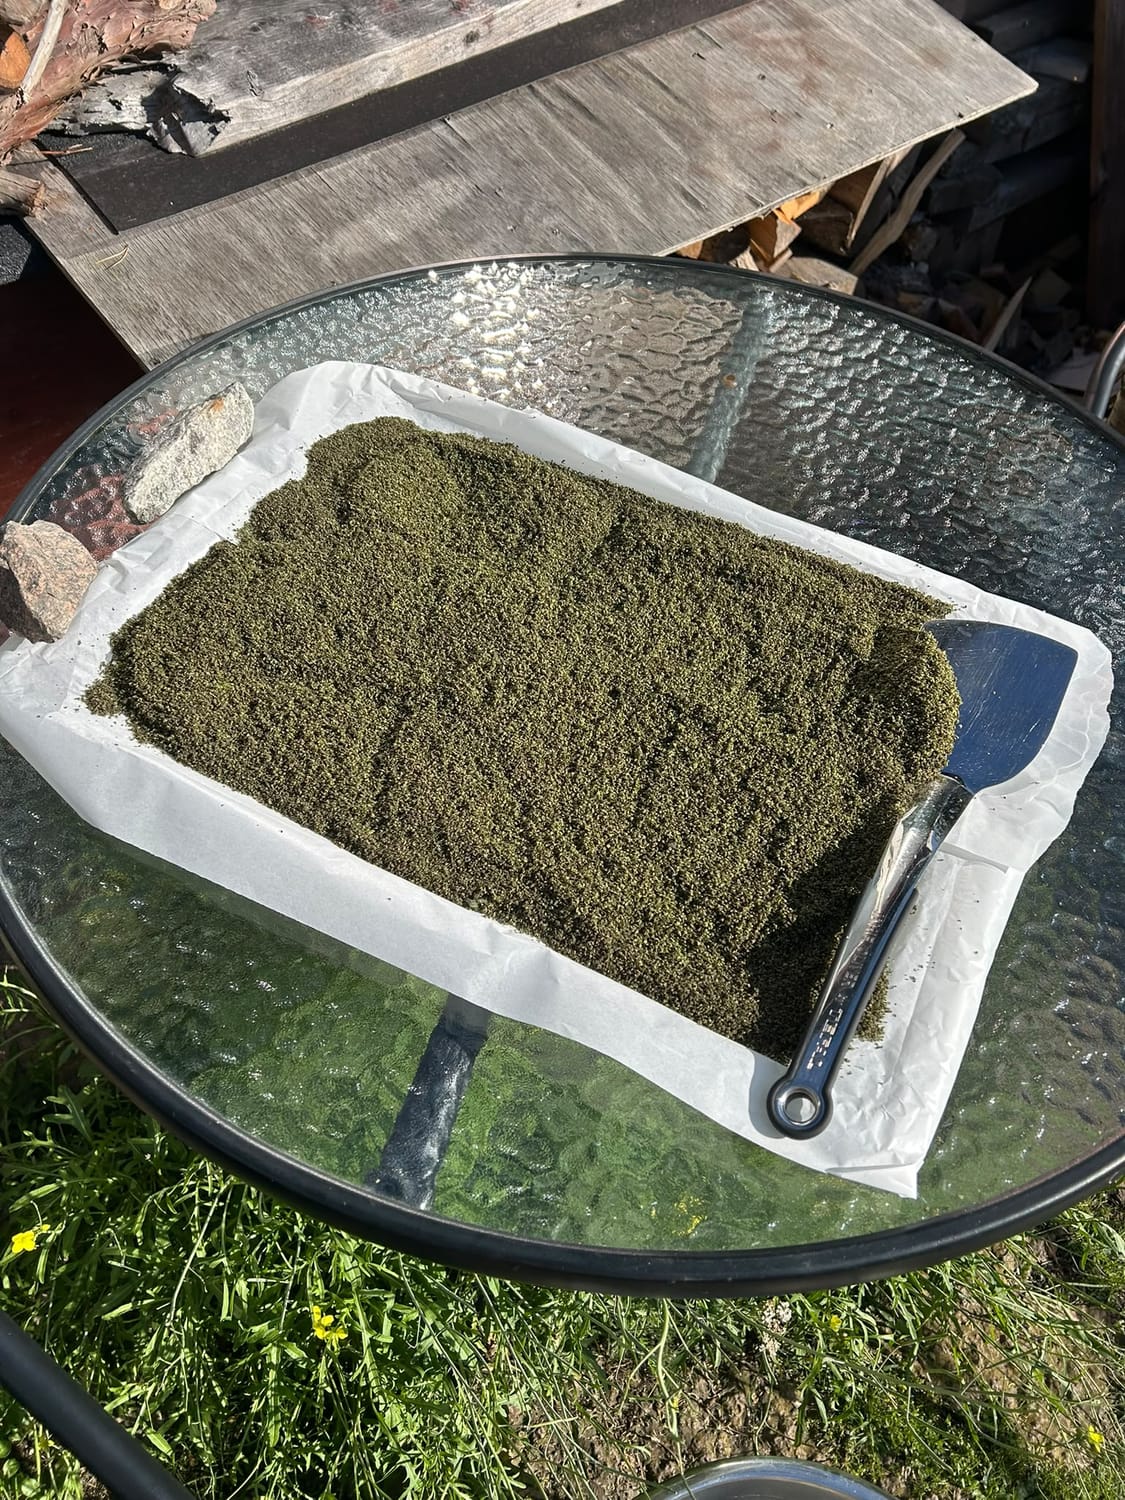
So, What’s Gomasio?
I’ve been told, that originally it’s a mixture of roasted sesame seeds that you crush in a special mortar and salt that you put on your food. When I asked Claude for suggestions as to what to do with the seeds, gomasio was on the list, so since I had no idea what it was and didn’t research any further, I made my own version which I’m now going to share with you. Actually, I’ve made two versions. One salt, one sweet. And they are good for you too. Note, the measurements are not exact. Play around with this and find what suits you.
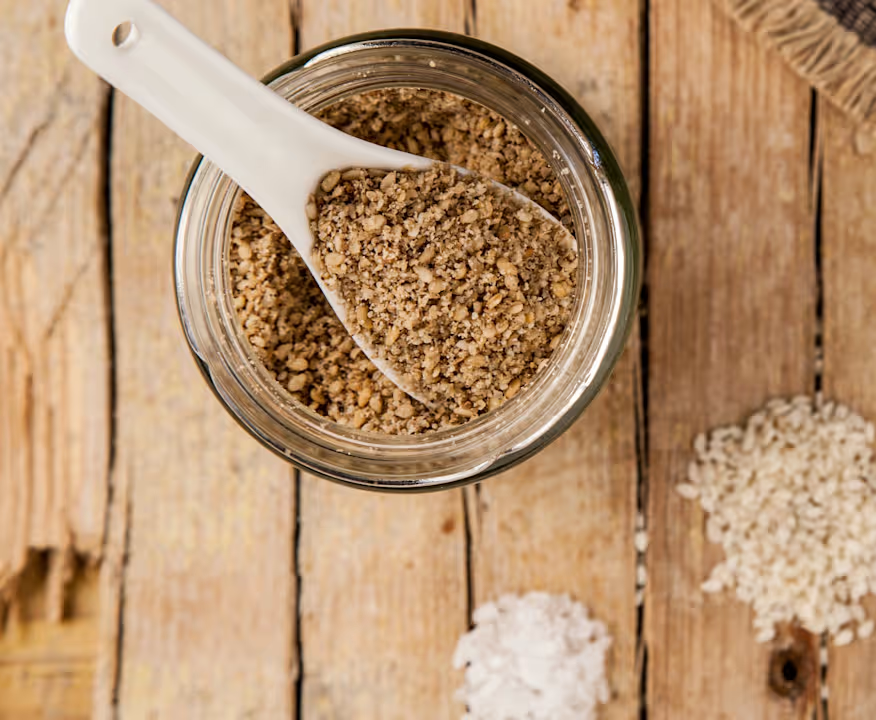
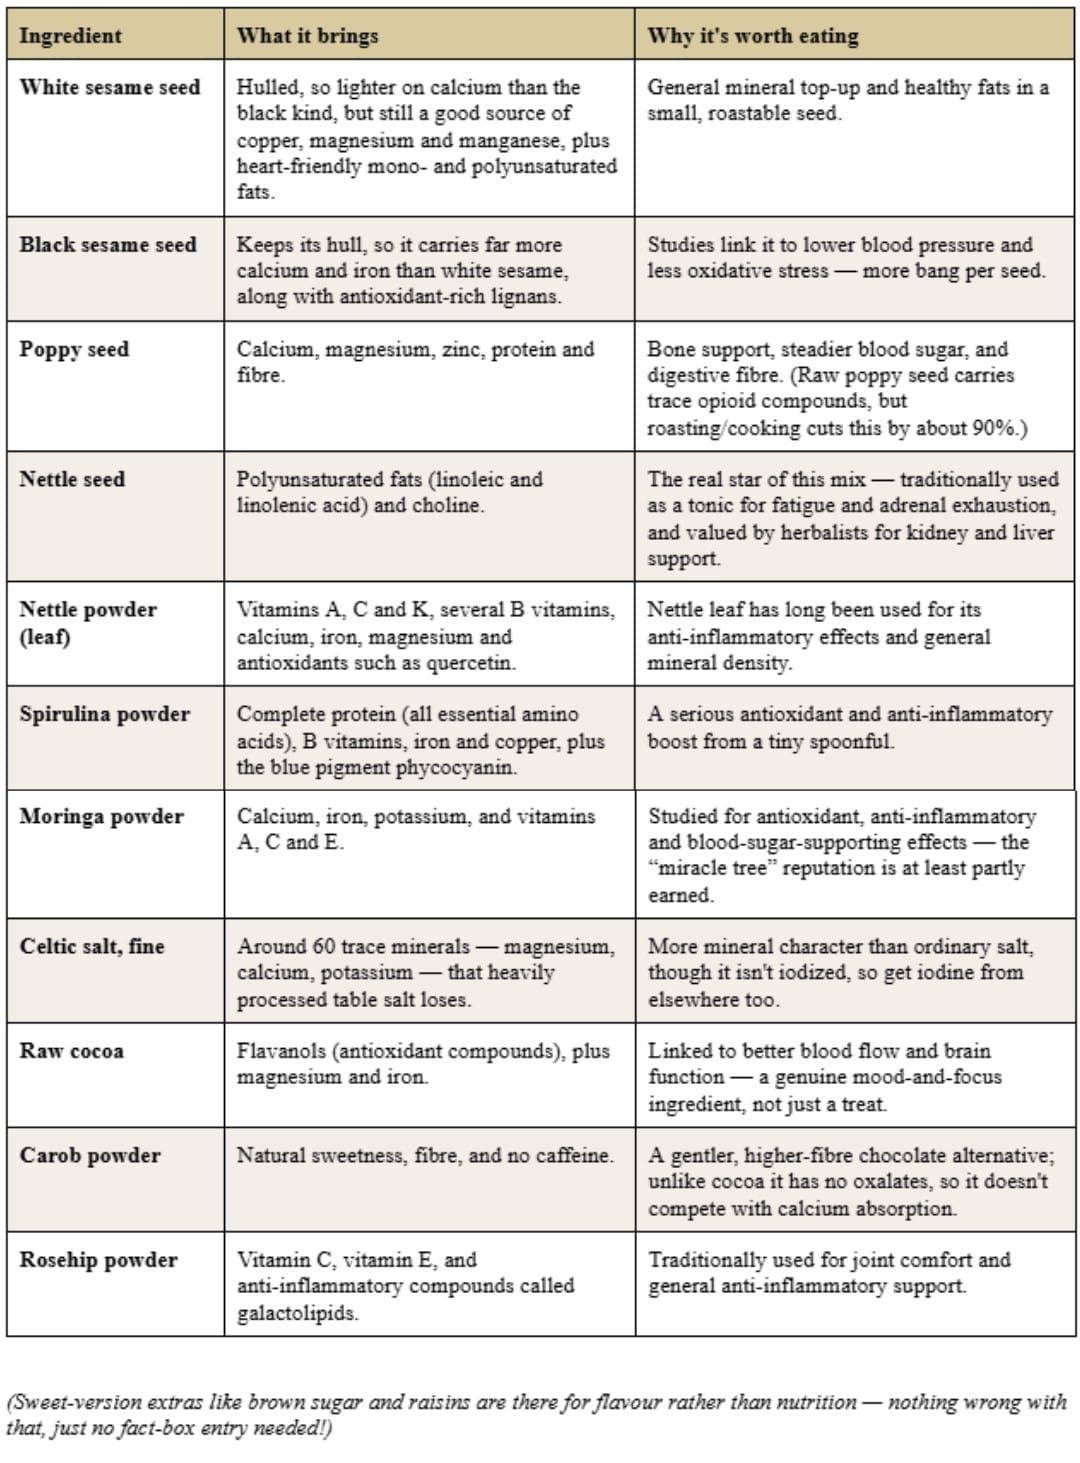
What’s Actually In My Gomasio? A Quick Nutrition Cheat-Sheet
Before you get to the recipes, here’s why this odd little mixture is worth making, ingredient by ingredient. This is everyday food information, not medical advice — just the highlights of what each ingredient brings to the jar.
The Recipes
LilyAnne’s Nettle-Seed and Salt Gomasio
Ingredients:
• 1 dl sesame seed, white
• 1 dl sesame seed, black
• 1-2 tbsp poppy seed
• 1 dl nettle seed
• 1 tbsp spirulina powder
• 1 tbsp moringa powder
• 1 tbsp nettle powder
• 1 tsp Celtic salt, fine
Method 1: with oven
• Heat the oven to 150 degrees C. Place the sesame seeds onto a large baking sheet and bake for 15-30
minutes, keeping an eye on them, stirring occasionally. The white seeds should turn lightly golden.
• Add the poppy seed and stir, roast for another 5 minutes.
• Add the nettle seed and stir. Roast for another 3 minutes. You’ll see they are ready when the microscopic seeds start popping out of the green shell and turn golden. This happens really fast, so be ready to take the sheet out.
• Remove the baking sheet from the oven and place it where the seeds can cool down.
• In the meantime, mix the powders and the salt in a bowl large enough for all the ingredients.
• When the seeds have cooled down, move them to the bowl, mix well. Taste and adjust the ratio of the ingredients as you see fit.
• Pour over into a glass jar for storage where you can easily grab it.
Method 2: with frying pan
• Heat a small or large dry frying pan (preferably not plastic, Teflon etc) at medium heat on the stove.
• If using a small pan, roast the sesame seeds first, put them in a bowl to cool, then roast the poppy seeds and add the nettle seeds, add them to the bowl to cool. Then follow the recipe above.
• In a large pan, follow the above recipe, starting with the larger seeds, then adding the smaller ones.
This is absolutely delicious in salads or as a topping on a plate of fried vegetables.
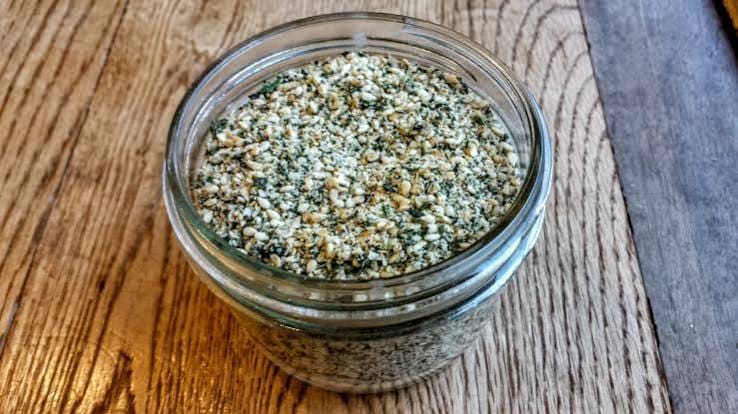
LilyAnne’s Fried Veggies and Egg
Ingredients, 1-2 servings:
• 2-3 tbsp oil (your favourite) or butter/margarine
• 2-3 fresh mushrooms, cut into about 9-10 pieces (not finely chopped)
• ¼ bell pepper, your favourite colour, cut into pieces to match
• 2-3 slices of zucchini/squash, cut into pieces
• 1 stalk of celery, sliced
• 2-3 radishes cut into pieces
• 6 slices of leek, cut in half
• 2-3 cloves of garlic, grated
• 0.5 inch piece of ginger, grated
• 2-4 kale leaves, with or without the spine, as it suits you, chopped small
• 0.5 tsp turmeric
• 0.5 tsp cayenne pepper
• A sprinkling of good, coarse salt (Celtic, Himalaya, Sea)
• A sprinkling of black pepper to taste
• 1-2 dl water
• Nettle seed & Salt Gomasio
• 1 tbsp oil/butter/margarine
• 1-2 eggs, salt and pepper to taste
Method:
• Heat a frying pan on just over medium heat and add the oil/butter.
• Add the chopped mushrooms and let them fry until golden, stirring every now and again.
• Add the bell peppers, celery, squash and radishes and fry until soft and a little browned.
• Chop the kale and grate the garlic and then ginger over it.
• Add the spices and stir, fry a little more.
• Add the leaves with garlic and ginger. Stir.
• Add the water, stir and allow everything to simmer for just a minute or two.
• Arrange the veggies in a heap on a large enough plate, pouring over the gravy that has formed, using a wooden utensil/spatula to remove all veggies onto the plate.
• Put the pan back on the stove, with the oil/butter and allow it to get warm again.
• Sprinkle the veggies generously with Nettle-seed & Salt Gomasio.
• Fry the eggs now and add a little salt and pepper. Flip while still soft and fry for just a little more (if you, like me, love a runny egg!) before placing the egg(s) on top of the veggies.
Enjoy with your favourite (nettle) tea!

LilyAnne’s Nettle-Seed and Sugar Gomasio
Ingredients:
• 1 dl sesame seed, white
• 1 dl sesame seed, black
• 1-2 tbsp poppy seed
• 1 dl nettle seed
• 1-2 tbsp raw cocoa
• 1-2 tbsp carob powder
• 1 tbsp rosehip powder
• 0.5 tsp Celtic salt, fine
• 2 tsp Demerara/Muscovado/brown sugar
• 1 handful of raisins, finely chopped
Method:
• As above for the Nettle-seed and Salt recipe: roast the seeds.
• Cool.
• Mix in the other ingredients.
• Pour into a glass jar for storage where you can easily grab it.
• Enjoy!
This recipe works very well on top of a bowl of Turkish yoghurt. Here’s my bowl mix:
LilyAnne’s Turkish Yoghurt Delight
Ingredients, 1 serving:
• 2 dl Turkish yoghurt
• 5-6 walnuts, halved or in smaller pieces
• 5-6 pecans, halved or in smaller pieces
• 1-2 of your favourite fruits in season, in smaller pieces
• 1-2 tsp maple syrup
• A generous sprinkling of Nettle-seed and Sugar Gomasio
• A generous topping of berries in season